Products
Add a product switcher for multi-product documentation sites
Team and Enterprise feature
This feature is available only for the Team and Enterprise plans. To get started, reach out to support@buildwithfern.com.
Add a product switcher for multi-product documentation sites. Each product can have its own navigation, tabs, versions, and API references, and products can share content.
Products can be internal (hosted on your site) or external (linking to external URLs).
Add products to your docs
Define your products
Create a products folder inside of your fern folder. To specify a product’s contents and navigational structure, add a .yml file to the products folder for each product.
Make sure to include the navigation and tabs properties, if applicable.
External products
You can also define external products, which link to external URLs (separate applications, third-party documentation, or other external resources) instead of documentation within your site. They appear in the product switcher but navigate users to the specified URL when selected. Define external products directly in docs.yml (no product-specific .yml file is needed).
To enable YAML validation and autocompletion in your editor, add a schema directive to the top of each product.yml file.
Add your product configuration
To define a product, add an item to the products list in docs.yml, specifying the display-name and either path (for internal products) or href (for external products).
For both internal and external products, image, icon, and subtitle are optional parameters. If you provide both an image and an icon, the image will take precedence. Internal products additionally support the optional slug and versions parameters.
Product icons
Icons can be in three formats:
- Font Awesome icons: Use icon names like
fa-solid fa-rocket. Pro and Brand Icons from Font Awesome are supported. - Custom image files: Use relative paths to image files (e.g.,
./assets/icons/my-icon.svgor../assets/icons/my-icon.png). Paths are relative to the YAML file where the icon is referenced (e.g.,docs.yml). For example, if you set an icon infern/products/my-product.yml, the path./assets/icon.svgresolves tofern/products/assets/icon.svg. If you set it infern/docs.yml, the same path resolves tofern/assets/icon.svg. - Inline SVG: Provide an SVG string wrapped in quotes (e.g.,
"<svg>...</svg>").
The below example is a docs.yml configuration for a site with two internal products (Product A and Product B) and one external product (Product C).
Add a site-level landing page
You can add a landing page that appears at the root of your documentation site, independent of any product. This is useful when you want users to see an introductory page before selecting a product.
Configure the landing-page property in your docs.yml:
The landing page is not linked to any product and will be accessible at the root URL (or the specified slug) of your documentation site.
For detailed configuration options, see the landing page configuration reference.
Add versioning to your products
You can optionally add versions to your internal products. Versioned and unversioned products can live next to each other in your site. Versions are not supported for external products.
In the below example, Product A is unversioned and Product B is versioned:
Define your versions
Create a versions folder inside of folder of the product you want to version.
Each version of a single product has its own yml file. To specify the contents of each version, add a .yml file to the versions folder to define the navigational structure of that version. Make sure to include the navigation and tabs properties, if applicable.
Version-specific yml files:
Add your version configuration
Define a version in the top-level docs.yml by adding an item to the versions list and specifying the display-name and path.
The top-level doc.yml configuration for a Fern Docs website containing two products, one unversioned and one versioned, might look something like this:
Default versions
Versions appear in a dropdown on your site in the order listed in docs.yml. The first version in your versions list is the default version and uses unversioned paths like example.com/getting-started. Other versions use versioned paths like example.com/v2/getting-started.
Fern automatically handles version routing by redirecting broken versioned links to the default version. Canonical URLs point to the unversioned path to consolidate SEO signals. To override this for version-specific pages, see SEO metadata.
Indicate availability
You can optionally set the availability status for each version. Options are deprecated, ga, stable, and beta.
Version availability is distinct from section and page availability, with different options. If you want to set section and page availability, do so in your version-specific yml files.
Add instance audiences
Control which versions and/or products appear in each documentation instance by tagging them with audiences. This enables separate sites for different user groups (e.g., internal developers, beta testers, public customers).
Content is filtered based on audience tags:
- Match: Content with an audience matching the instance audience is included
- No match: Content with a non-matching audience is excluded
- No audience: Content without an audience tag is included by default
Define audiences for instances, products, and versions in docs.yml:
Combining with API Reference audiences
Instance audiences work alongside API Reference audiences, which filter endpoints and schemas within your API documentation. You can use both features together:
- Instance audiences - Control which products and versions appear in each instance
- API Reference audiences - Control which endpoints and schemas appear within API References
For example, you might have a public instance that includes only public products. Within those products, the API Reference should be marked as public so it is filtered to show only public endpoints.
Conditionally render content
To conditionally render content within a page based on the current product, use the <If> component.
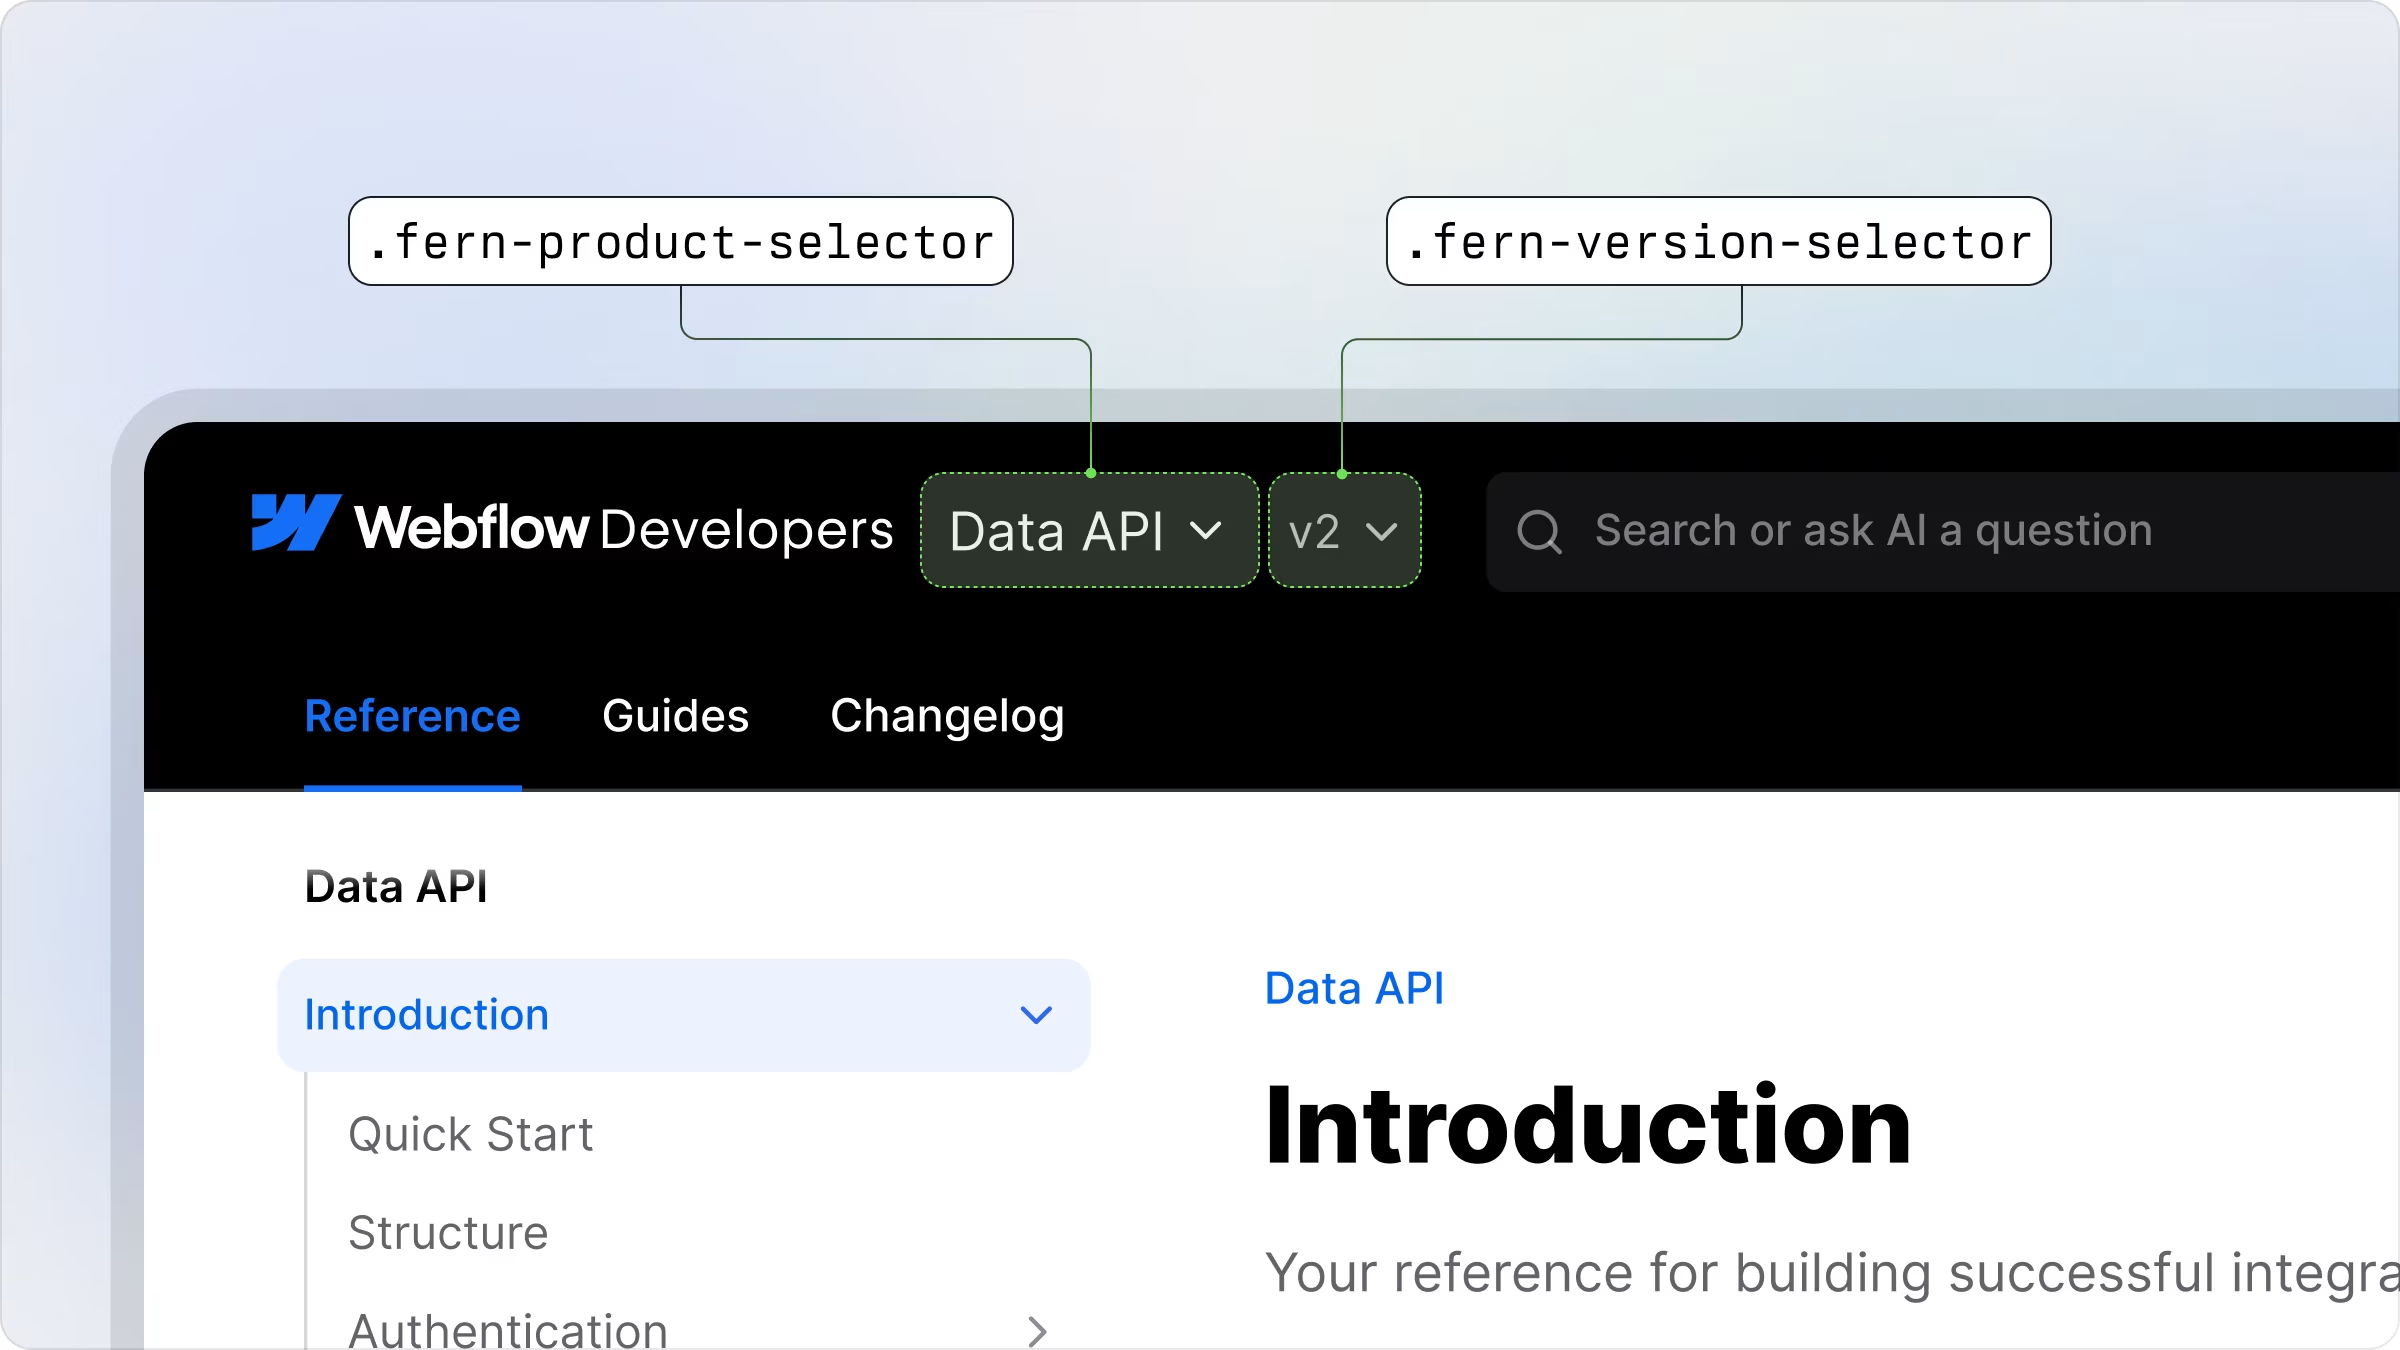
Customize selector styling
You can directly customize the appearance of the product and version selectors by targeting their CSS classes:
fern-product-selector- Controls the styling of the product selectorfern-version-selector- Controls the styling of the version selector
Common styling adjustments
Adjusting positioning:
Use transform: translateY(Npx) to adjust the vertical positioning of the selectors. This ensures that the selectors match the line height of your logo for better visual alignment.
Enhancing visual prominence: You can modify the border radius and add borders to make the selectors more prominent and better integrated with your site’s design aesthetic.
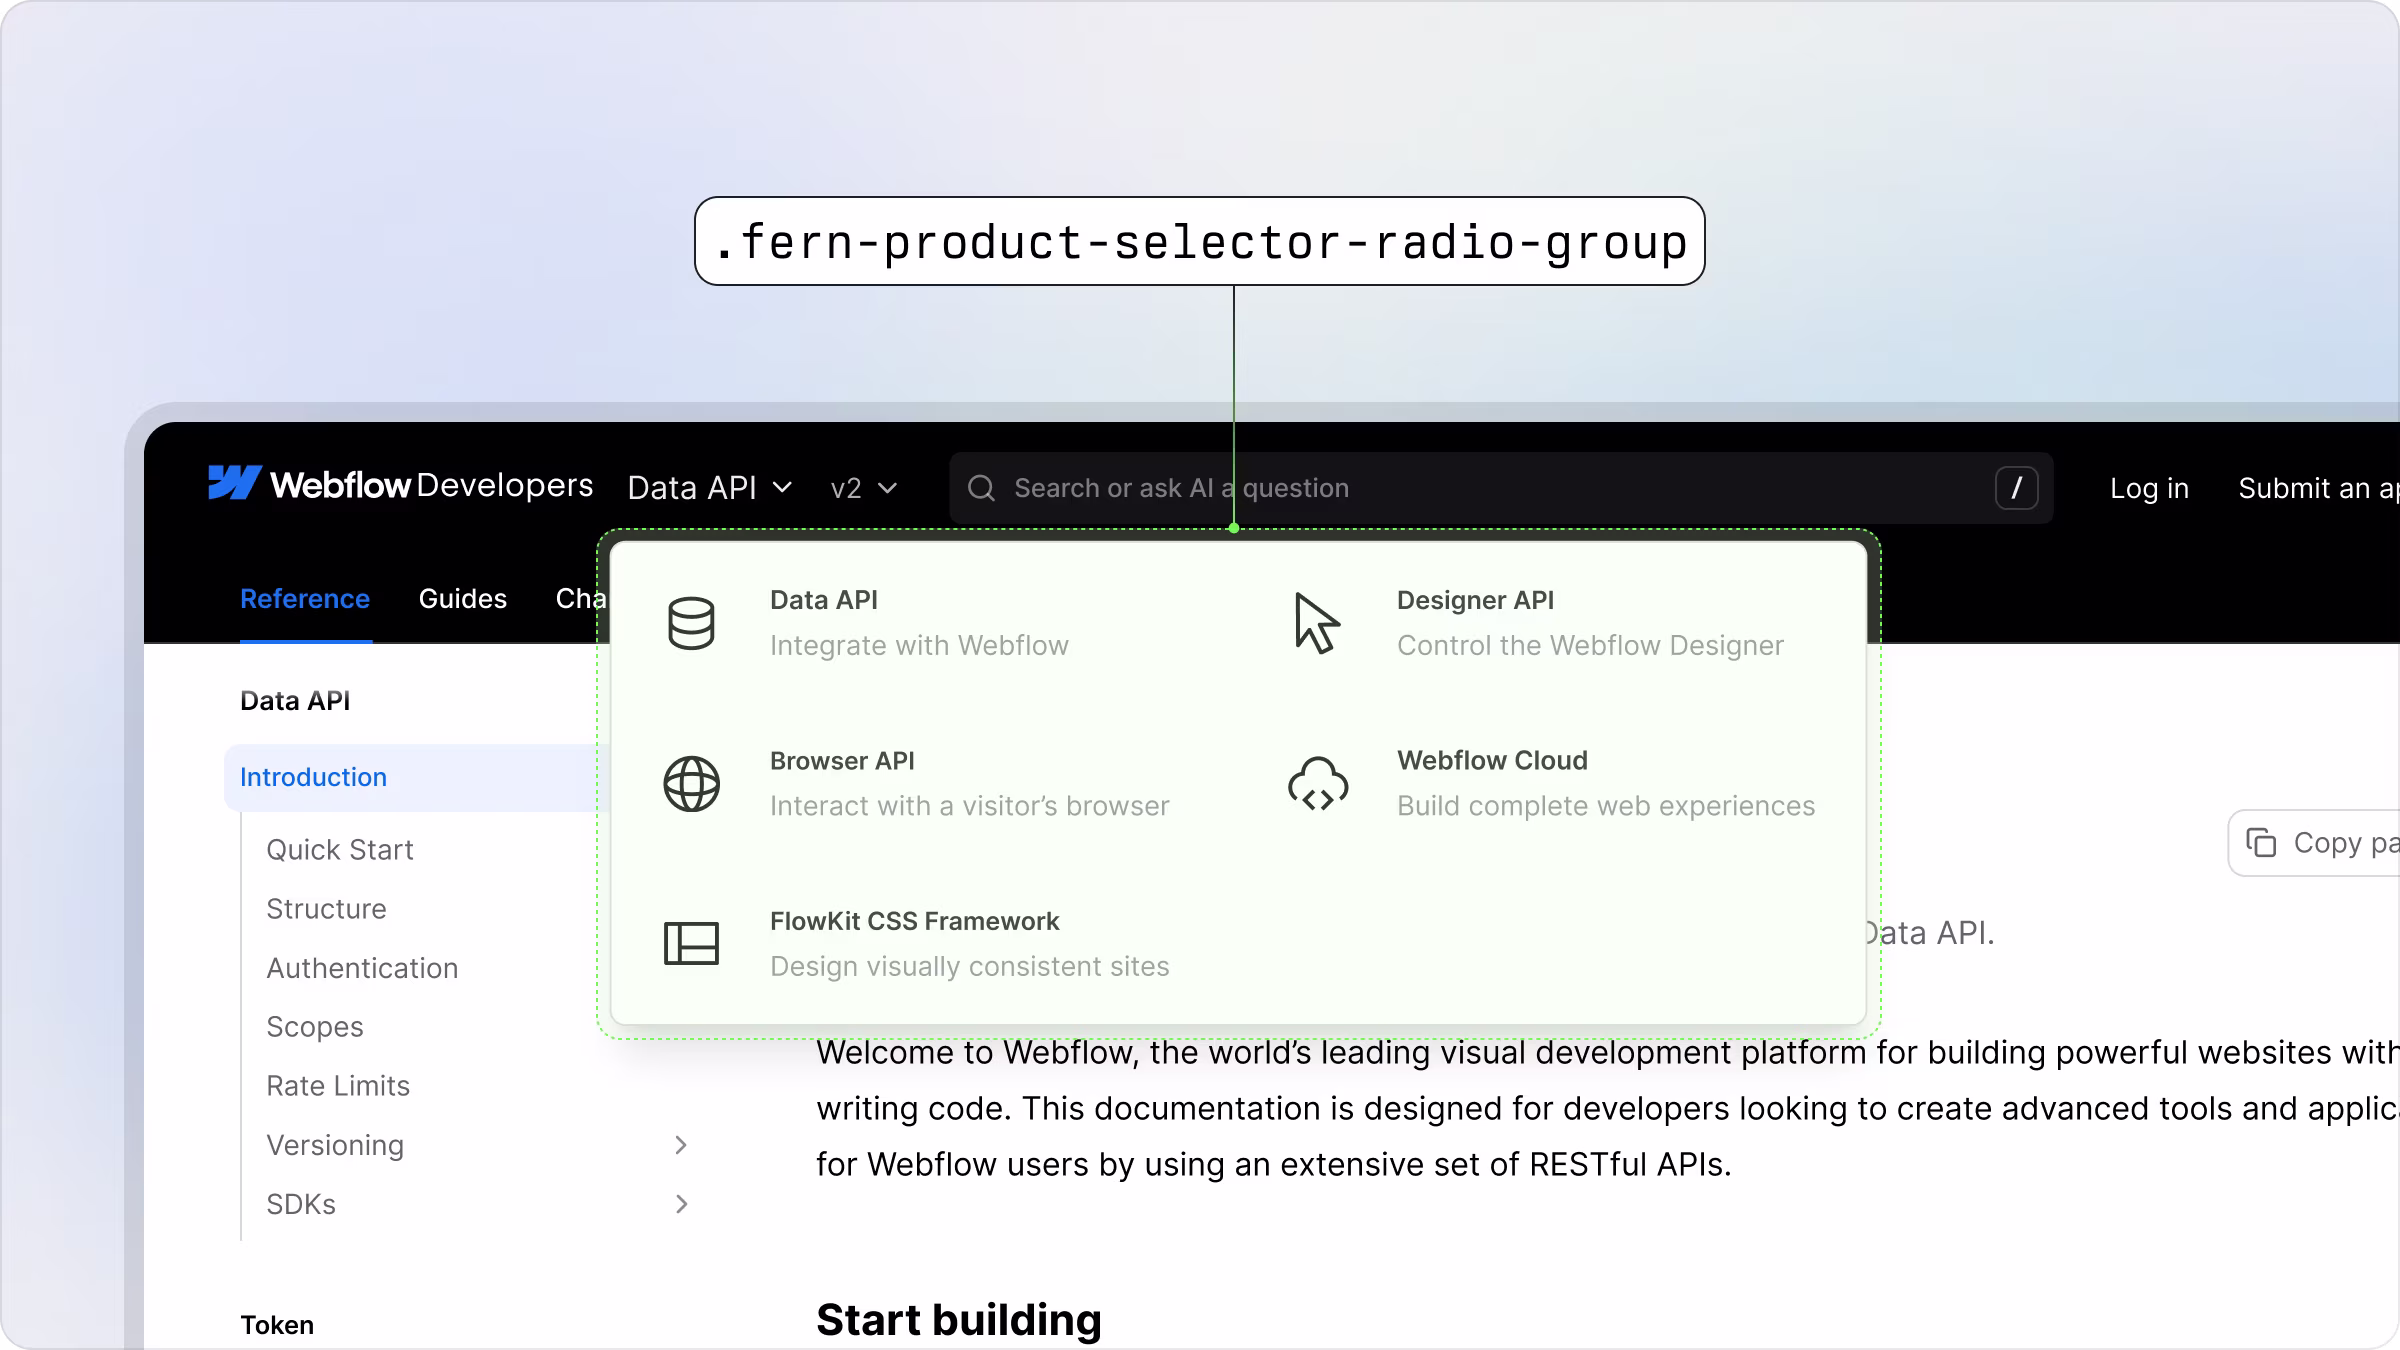
Customize dropdown styling
The dropdown menus for product and version selectors can be customized using these specific CSS classes:
fern-product-selector-radio-group- Controls the styling of the product dropdownfern-version-selector-radio-group- Controls the styling of the version dropdown
Product Selector
Version Selector
Common Styling Adjustments
Enable a grid layout for the dropdown: